Comprehensive Pre-Installation Site Assessment
A thorough site assessment is the foundation of reliable occupied building installation protocols. It aligns safety, schedule, and design intent before any equipment rolls in, minimizing disruption while safeguarding finish quality. For direct-to-wall printing, this step verifies that the wall, environment, and workflow can support photoreal results without adhesives or panels.
Start with the substrate. Identify wall type (painted drywall, CMU, sealed concrete, or brick), the existing coating, and its condition. Document texture, patchwork, and any hairline cracks; repair and spot-prime where necessary to avoid telegraphing through high-resolution graphics. On porous CMU, for example, block filler or a suitable sealer may be recommended to achieve crisp detail, while freshly painted surfaces must be fully cured per the coating manufacturer before printing.
Confirm environmental and logistical readiness. Validate temperature/humidity ranges, standard-power availability near the print zone, and clear access/egress paths for equipment. In occupied corridors, coordinate quiet hours and light barricades, and schedule a pre-clean of the wall to remove dust, oils, and custodial residues that can affect ink laydown. In healthcare and education, align with housekeeping and infection-prevention teams to stage low-impact facility upgrades during off-peak windows.
Field-verify dimensions and obstructions to ensure seamless interior branding solutions. Measure floor-to-ceiling heights, levelness, and distances to corners, casework, and devices like thermostats or fire pulls. Use this data to finalize artwork scale and placement, keeping critical content clear of handrails and ADA-required signage. For color-critical programs, run small test swatches to validate color, legibility at viewing distance, and cleanability on the actual finish.
Address risk and compliance early. Confirm that life-safety devices, access panels, and code-required signage are not obstructed. Note expansion joints or control joints that may intersect imagery. Establish a communication plan for occupant notices and day-of routing so the commercial wall graphics installation proceeds safely and predictably.
A concise assessment checklist keeps teams aligned:
- Substrate type, coating, condition, and cure verification
- Moisture/porosity checks as applicable and recommended surface prep
- Environmental ranges, power access, and staging path
- Measurements, obstructions, and artwork placement approvals
- Cleaning plan, quiet hours, and occupant notifications
- Test swatches for color, resolution, and maintenance compatibility
EastCoast MuralPros formalizes these steps to unlock direct-to-wall printing benefits: fast, adhesive-free execution often completed in under five hours per zone, seam-free results at architectural scale, and a more sustainable wall decor technology with fewer materials and no shipping delays. For a detailed view of how assessments flow into scheduling and day-of execution, see our standard installation workflows.
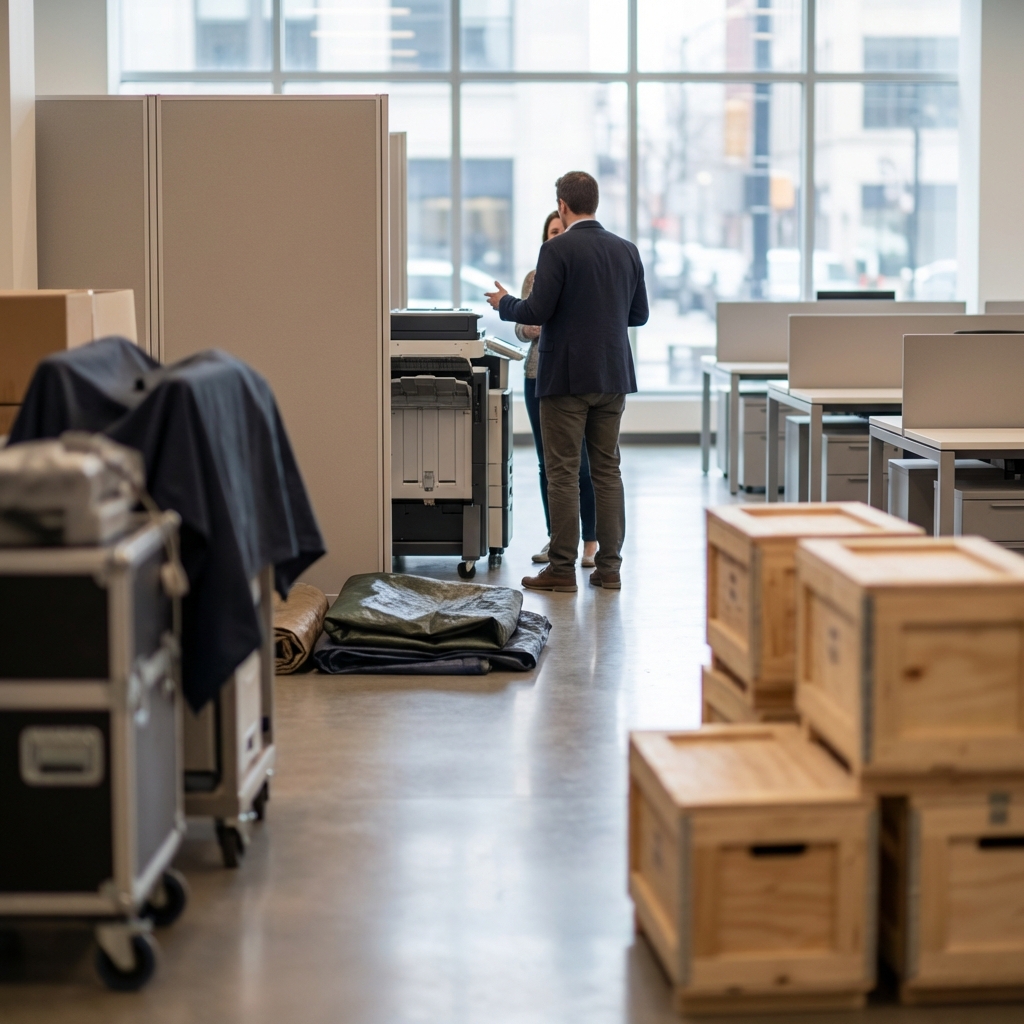
Strategic Equipment Staging and Logistics
Strategic equipment staging begins with a route plan. Map the path from loading dock to print zone, confirming door widths, elevator clearances, and a reserved laydown area within 20–30 feet of the wall. This reduces cross-traffic and keeps the printer, inks, and alignment tools off circulation routes, supporting low-impact facility upgrades during business hours.
A pre-walk should validate substrate conditions (drywall, CMU, concrete, or brick), power access, lighting, and environmental stability. Identify adjacent life-safety devices, signage, and art that must be protected or temporarily removed. In healthcare or education settings, coordinate with infection control or security for after-hours windows and clearance badges to align with occupied building installation protocols.
A concise load-in checklist keeps commercial wall graphics installation smooth and predictable:
- Confirm dock time, elevator booking, and route protection (ramps, corner guards, floor runners).
- Establish a 10×10 ft staging zone with cord covers, cones, and soft barriers.
- Verify power (dedicated 20A circuit), Wi-Fi or offline file transfer plan, and lighting levels at the wall.
- Prep the wall (dust-off, tape edges, protect baseboards) and document pre-existing conditions.
- Stage consumables, color targets, and a clean handoff table for QA and approvals.
Use zone-based sequencing to limit disruption. For example, divide a corridor into three zones and complete one zone per hour, reopening each section immediately after print while the crew advances. In a corporate office, pair this with “quiet hours” near conference rooms and wayfinding to redirect foot traffic temporarily—an approach that supports seamless interior branding solutions without downtime.
Color and file staging prevents on-site bottlenecks. Preflight art with correct scale and resolution, pre-bake profiles, and bring a small test panel to confirm surface interaction before the first pass. EastCoast MuralPros’ collaborative tools help digital artists scale complex systems across campuses, and in-studio printing of doors or standees can be pre-staged to install alongside wall work for cohesive results.
Day-of run-of-show for a typical under-5-hour scope:
- 0:00–0:30 Load-in, site protection, and wall prep
- 0:30–1:00 Alignment, level, and test band
- 1:00–4:00 Direct-to-wall printing and rolling zone reopen
- 4:00–4:30 QA, cleanup, and sign-off
Close with a clean turnover: remove protections, confirm cleanability expectations, and record as-builts for future refreshes. Because EastCoast MuralPros prints directly to the surface—no vinyl or adhesives—clients gain sustainable wall decor technology with fewer materials, faster schedules, and consistent execution across multi-location rollouts. For integrating brand storytelling into circulation paths, see ideas on commercial branding through space.
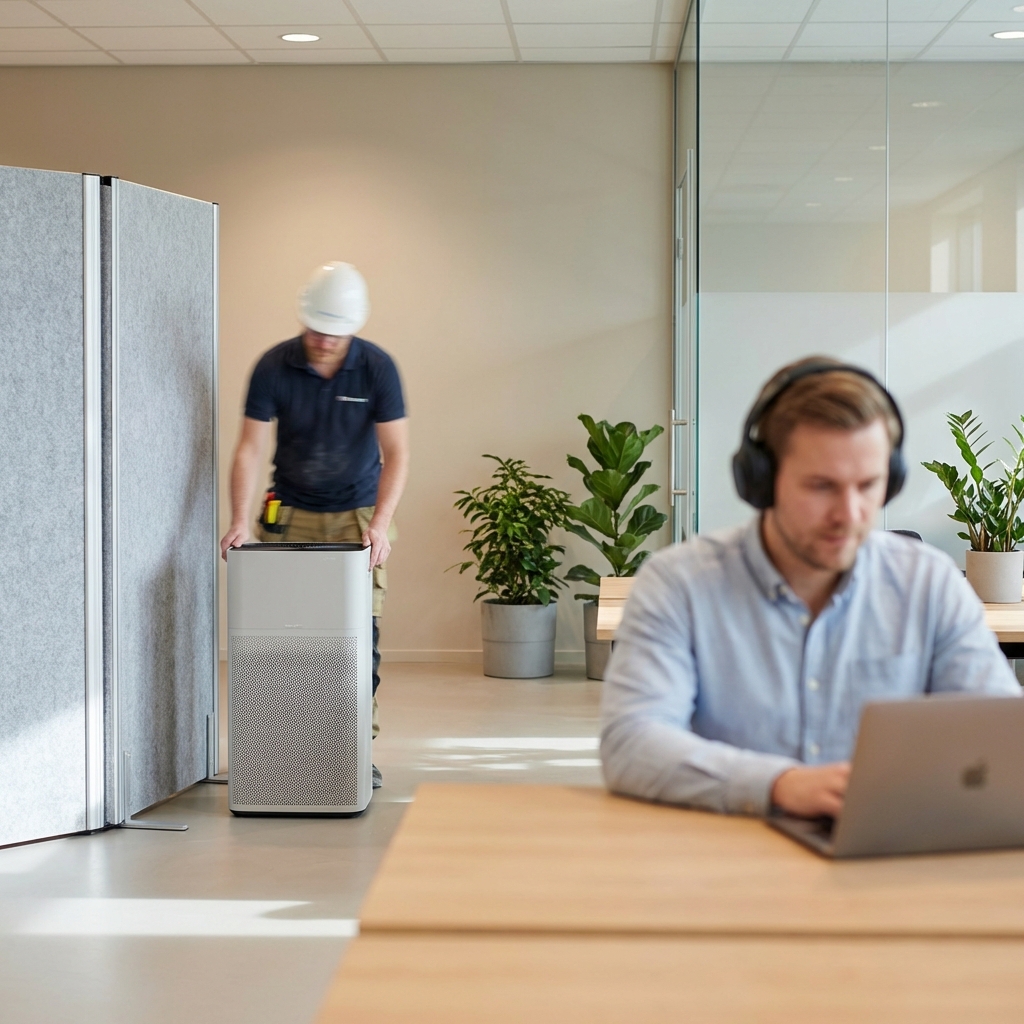
Advanced Ventilation and Noise Mitigation Standards
In occupied environments, air quality and acoustics determine whether a commercial wall graphics installation is truly low impact. Effective occupied building installation protocols prioritize clean airflow, minimal odor, and sound levels that don’t disrupt patient care, classrooms, or open offices. Because direct-to-wall printing eliminates vinyl and adhesives, it avoids much of the off‑gassing and surface prep associated with traditional wallcoverings—one of the key direct-to-wall printing benefits for low-impact facility upgrades.
Start with an IAQ plan tied to building operations. Coordinate with the BAS to temporarily increase outdoor air and confirm that supply/return paths won’t short-cycle the work zone. Deploy portable MERV‑13/HEPA air scrubbers positioned to pull across the print face and exhaust away from occupied areas; in healthcare or labs, add a soft-wall anteroom and negative air to align with ICRA practices. Maintain temperature and humidity within manufacturer-recommended ranges to ensure consistent results and prevent condensation on finished surfaces.
Noise mitigation begins with a pre-survey of ambient decibels and sensitive adjacencies. Set a boundary target—commonly 60–65 dBA at the nearest occupied workstation or corridor—and verify with a handheld SPL meter at regular intervals. Schedule equipment moves and material handling during off-peak hours, roll printers on soft casters, add vibration-isolation pads, and use acoustic screens or door sweeps to shield nearby occupants. Provide 48–72 hour notices, wayfinding, and a “quiet hour” window for critical periods like testing or rounds.
Hold teams to measurable standards and documentation to keep the process predictable:
- IAQ: Baseline and post-install readings for CO2, PM2.5, and TVOCs that meet facility or WELL/ASHRAE targets, with HEPA scrubber runtime before and after work.
- Acoustics: Log decibel checks at the work boundary every 30–60 minutes; shift tasks if readings trend above the threshold.
- Containment: Anterooms, dust mats, and clean tool protocols; remove containment without residue.
- Re-occupancy: Confirm air changes achieved and provide a brief closeout report summarizing IAQ/noise data and any variances.
For example, a pediatric corridor upgrade can run as a same-day, seamless interior branding solution: a small print zone under containment with a single HEPA unit, boundary sound checks under 65 dBA, and a short purge cycle before reopening. EastCoast MuralPros builds these ventilation and noise safeguards into their occupied building installation protocols, pairing adhesive-free, sustainable wall decor technology with fast, predictable scheduling for campuses, hospitals, and multi-location portfolios.
Synchronized Off-Peak Scheduling Workflows
Coordinating work during nights, weekends, or defined low-traffic windows is the backbone of effective occupied building installation protocols. The goal is to map printing tasks to the natural rhythm of the facility—cleaning cycles, shift changes, visiting hours, and security lock-downs—so productivity stays high while disruption stays low. Because direct-to-wall printing requires no adhesives, panels, or lengthy cure times, teams can complete most commercial wall graphics installation in a single off-peak window and hand the area back the next morning.
The workflow starts with a quick pre-install survey and wall readiness check aligned to the building schedule. Facilities teams provide access rules, elevator and dock reservations, and preferred quiet hours; the print team translates that into a floor-by-floor, zone-based schedule with clear start/stop times. For multi-site programs, EastCoast MuralPros standardizes this playbook so every location follows the same sequencing, check-ins, and approvals, ensuring predictable outcomes across a portfolio.
Consider a corporate HQ with 12 target walls across three floors. The schedule breaks into four 90-minute zones per evening, sequenced alongside janitorial routes and post-occupancy hours (for example, 7–10 p.m.). On-site printing eliminates shipping delays and fabrication errors, so there’s no waiting on materials; crews arrive with calibrated files, perform a fast surface wipe-down, print high-resolution graphics, and exit with the space clean and open by morning.
To keep off-peak windows synchronized and friction-free, align stakeholders and tasks ahead of time:
- Access and safety: badge lists, after-hours contacts, escorts if needed, and infection-control measures in healthcare wings.
- Logistics: elevator and dock bookings, staging closets per floor, and designated paths that avoid patient rooms or guest corridors.
- MEP coordination: available circuits for equipment, lighting levels set for print accuracy, and HVAC settings to prevent condensation on cold walls.
- Communications: occupant notices 48–72 hours in advance, floor signage during work, and a hotline or QR code for real-time updates.
- Housekeeping: pre-wipe and post-print touchpoints to maintain cleanable, durable surfaces without adding shutdown time.
These synchronized off-peak workflows turn wall upgrades into low-impact facility upgrades rather than construction events. The direct-to-wall printing benefits—speed, seam-free results, and paint-over-ready finishes—deliver seamless interior branding solutions that fit tight schedules. EastCoast MuralPros brings a proven, sustainable wall decor technology and a subscription option that times seasonal or strategic refreshes to your quietest periods, making national rollouts and campus-wide wayfinding updates efficient and repeatable.
Dust-Free Surface Preparation Techniques
Dust management is foundational to print quality and schedule reliability in occupied spaces. Airborne and surface particulates can cause pinholes, banding, and inconsistent curing with UV-direct systems, undermining the crisp detail expected from commercial wall graphics installation. Tight surface prep enables the direct-to-wall printing benefits clients select in the first place: fast turns, seam-free results, and minimal disruption.
Start with containment and coordination. Define a clean zone with plastic sheeting or reusable barriers, protect adjacent finishes, and run a HEPA air scrubber on low to capture fine particulates without creating drafts. Coordinate with facilities to temporarily reduce nearby HVAC supply, and align work windows with janitorial cycles so pre-cleaning and printing occur back to back.
- Perform a pre-walk and substrate test: tape pull for chalking, moisture check on masonry, and a quick 12-inch test print where feasible.
- Dry clean first: use HEPA-filter vacuums with soft brush attachments to remove loose dust from ceiling to base.
- Wipe down with low-lint, slightly damp microfiber cloths (neutral cleaner, no silicone) to pick up remaining fines.
- For glossy paints, lightly de-gloss with a non-shedding pad, vacuum again, and microfiber wipe to improve ink anchoring.
- On porous CMU or concrete, agitate with a nylon masonry brush, HEPA vacuum, and, if the surface is friable, apply a breathable, low-VOC consolidating coat per manufacturer guidance.
- Conduct a final “white-glove” check and lint-roll the print area edges, then hold printing until surfaces are visibly dry.
Different substrates require nuanced handling. Painted drywall typically needs HEPA vacuuming and a microfiber wipe; address any chalking with a compatible primer prior to print. CMU, brick, and raw concrete often shed fines; stabilizing dusting surfaces avoids haze in large, seamless interior branding solutions. Glass, metal, and laminate demand an isopropyl-water wipe (per facility policy) to remove oils that interfere with curing, followed by a lint-free dry.
Quality control is part of the occupied building installation protocols. Use a laser particle counter or a simple tape test to verify dust levels, then run a small test pass to confirm cure and color before committing to architectural-scale imagery. In hospitals or labs, include infection-control sign-off and document negative air or HEPA use in the work log.
EastCoast MuralPros standardizes this prep with low-decibel HEPA equipment, reusable containment, and substrate-specific checklists to keep work low-impact and predictable. Their teams complete most prints in under five hours, enabling low-impact facility upgrades without vinyl, odor, or lengthy downtime. The result is sustainable wall decor technology that scales cleanly across campuses and multi-location portfolios while maintaining consistent, high-resolution outcomes.
Rapid Facility Handover and Maintenance Briefing
A rapid handover starts before the last print pass. Close the job with a joint walkthrough that includes facilities, custodial, and safety leads, confirming reopen routes, protection removal, and signage reinstatement. Document each wall with photos and IDs so your team knows exactly what went where, which is especially important for occupied building installation protocols across multiple floors.
Deliver a concise maintenance briefing on the spot. Cover how to clean, what to avoid, and when to call for service, then leave a one-page care guide at the closest custodial station. Emphasize the paint-over-ready finish and how direct-to-wall printing benefits operations by eliminating adhesive layers that complicate future program or tenant changes.
Equip teams with a standardized handover kit:
- Annotated QC photos with wall IDs and locations for CMMS entry
- Cleaning and care guide (approved wipes/cloths, mild detergent, no abrasives or solvent-based cleaners)
- Reopen criteria checklist (barrier removal, slip/trip sweep, wayfinding reinstated)
- Substrate notes (drywall, CMU, brick) with specific do/don’t guidance
- Paint-over protocol and specification notes to restore to base condition when needed
- Incident reporting flow and service contacts
- QR code decals linking to digital O&M sheets and replacement art files
- Optional refresh cadence and scope tied to seasonal or program milestones
Set expectations for ongoing care without adding workload. Recommend brief visual inspections during routine rounds for the first 30 days, then fold murals into quarterly surface checks alongside flooring and wall finishes. If using asset IDs and QR codes, custodial teams can log issues instantly, and brand or facilities teams can download native files for consistent commercial wall graphics installation in future phases.
For example, a hospital corridor can return to normal traffic the same shift when the crew completes the walkthrough, removes protection, and posts the QR-linked care sheet at the nurse station. University residence halls benefit from the same repeatable process—one kit per floor—supporting low-impact facility upgrades during turnover. EastCoast MuralPros standardizes this handoff across campuses and portfolios, enabling seamless interior branding solutions with on-site, adhesive-free printing and durable, cleanable surfaces. The result is a scalable, sustainable wall decor technology program you can maintain easily, refresh on schedule, and roll out nationally with confidence.
Call to Action
Contact us to learn more